
Fixing leaks quickly is essential to avoid water damage, mold growth, and expensive repairs. When dealing with PEX pipes, knowing common problems can save you both time and money. PEX pipes are widely used because they are flexible and durable, but they can still develop pinhole leaks. Manufacturing flaws may cause these small leaks, bends, or incorrect installation.
This guide will provide you with the information and tools necessary to fix a pinhole leak in PEX pipe. Whether you’re a seasoned DIYer or new to plumbing repairs, following these steps will help you handle this problem efficiently and effectively.
Understanding Pinhole Leaks in PEX Pipes

What Are Pinhole Leaks?
A pinhole leak is a small, puncture-like hole in a pipe that causes water to escape. These leaks are typically tiny, but they can lead to significant issues if not promptly addressed.
Why Do Pinhole Leaks Happen in PEX Pipes?
PEX pipes are known for their durability, yet they can still develop pinhole leaks due to several factors:
- Manufacturing defects: Occasionally, flaws in the production process can result in weak spots within the pipe.
- Kinks: Bending or twisting the pipe too sharply during installation can weaken its structure.
- Improper installation: Incorrect techniques or using incompatible fittings may compromise the pipe’s integrity.
What Happens If You Ignore These Leaks?
Neglecting a pinhole leak can result in severe problems, including:
- Water damage: Continuous leakage can damage walls, floors, and ceilings.
- Mold growth: Persistent moisture creates an ideal environment for mold, posing health risks and requiring costly remediation efforts.
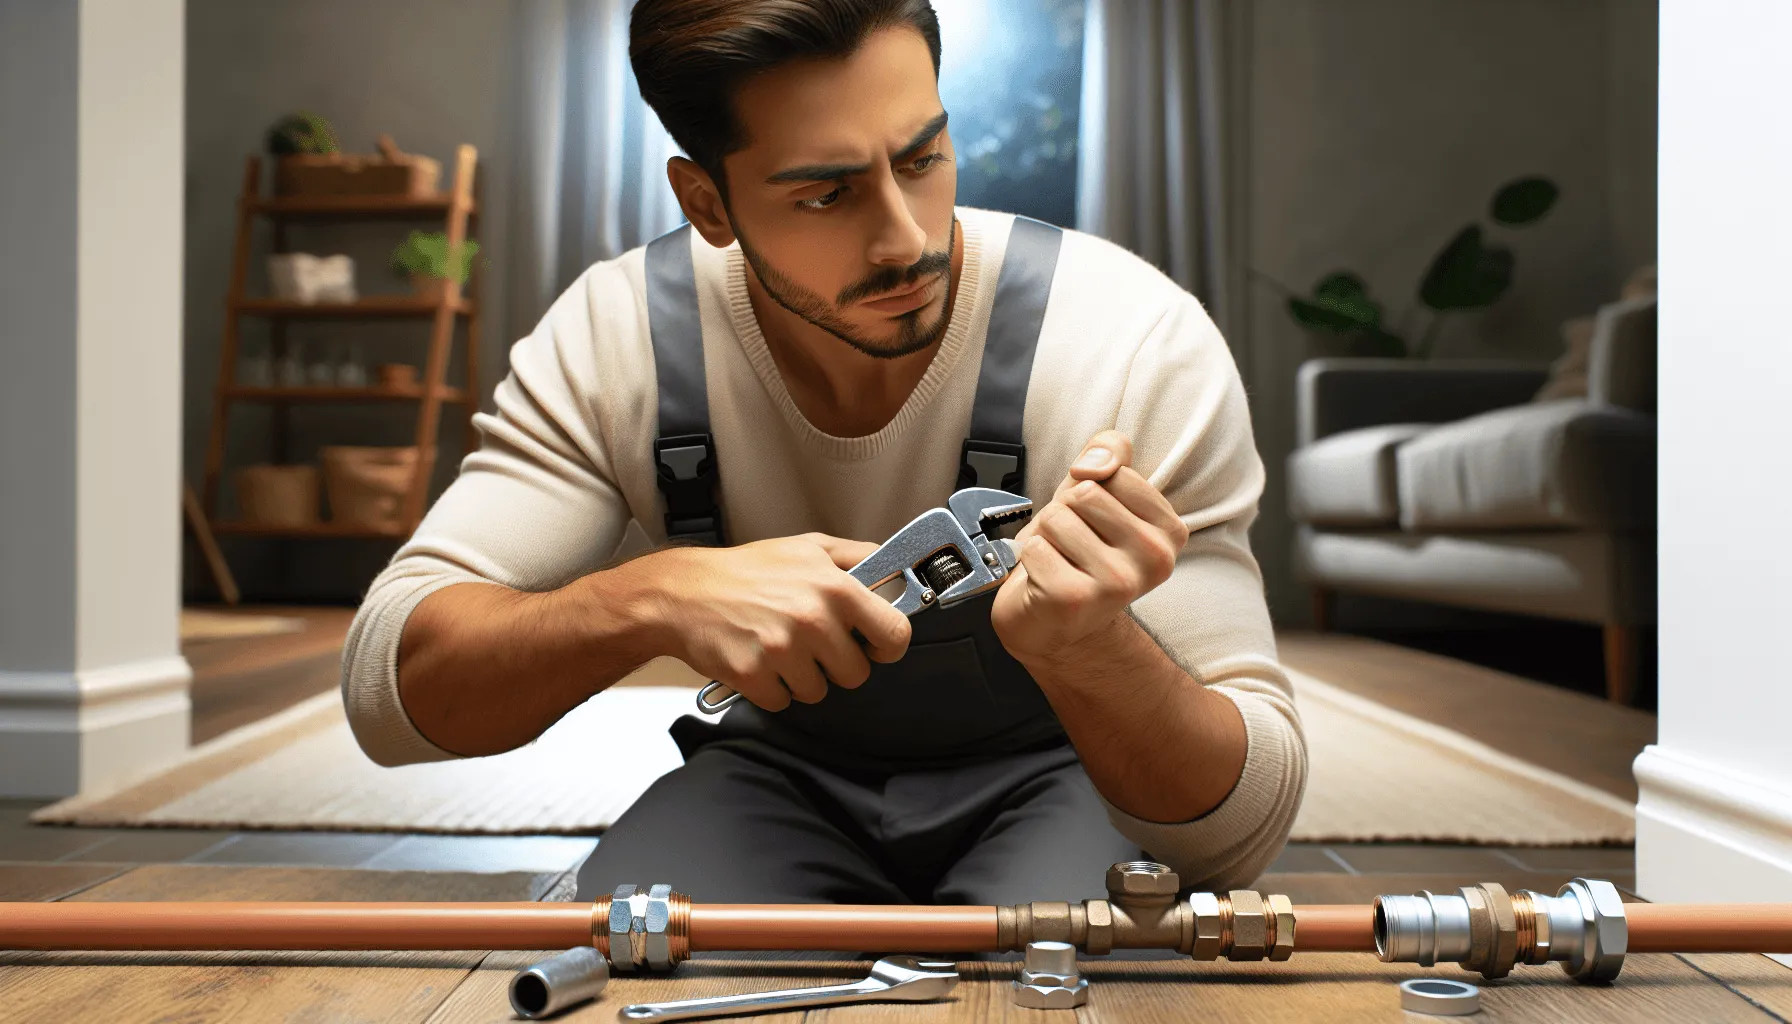
Tools and Materials Needed for Repair
To effectively fix a pinhole leak in a PEX pipe, having the right tools and materials is crucial. Here’s a list of essential items you’ll need:
Essential Tools
- Copper Cutter: Ideal for cutting out the damaged section of the PEX pipe.
- Crimping Tool: Necessary for securing new fittings onto the pipe.
- Decoupler: Helps in disconnecting existing fittings without damaging the pipe.
Recommended Materials
- Mechanical Couplers: These provide a reliable solution for reconnecting cut sections of PEX pipes.
- Sharkbite Fittings: Popular for their ease of use, requiring no special tools or skills to install.
Most of these tools and materials can be found at major hardware stores like Home Depot. They offer a wide selection of plumbing supplies, ensuring you have everything needed for your repair.
Using these tools and materials will ensure that your repair is both efficient and durable, preventing future leaks.
Step-by-Step Guide to Fixing a Pinhole Leak in PEX Pipe
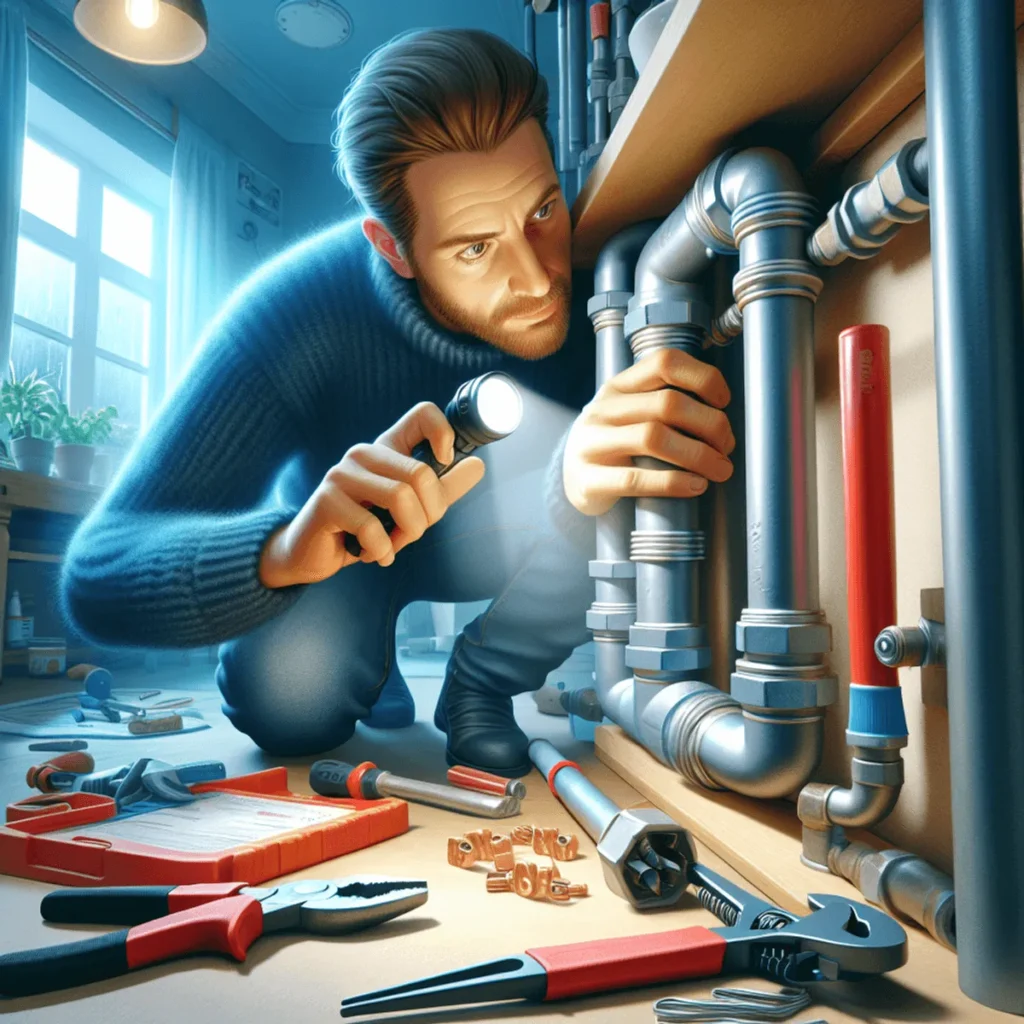
Step 1: Identify the Leak
Fixing a pinhole leak in PEX pipe starts with accurately identifying the problem area. Effective identification ensures you address the exact spot that needs repair, preventing further damage and unnecessary work.
Visual Inspection Techniques
- Inspect the entire length of the PEX pipe visually. Look for any visible signs of damage or irregularities on the pipe surface.
- Use a flashlight to improve visibility, especially in poorly lit areas like basements or crawl spaces.
- Examine connections and joints closely, as these are common sites for leaks.
Checking for Moisture or Discoloration
- Walls and Ceilings: Look for water stains, discoloration, or bulging areas on walls and ceilings near where the PEX pipes run. These signs often indicate a hidden leak.
- Floors: Check for damp spots or unusual wetness on floors. This is particularly important in rooms with water fixtures like kitchens and bathrooms.
- Touch Test: Feel along the length of the pipe with your hands. Moisture or a slippery surface can help pinpoint the location of a small leak.
Accurate identification of the leak allows you to proceed with confidence to fix the pinhole leak in PEX pipe effectively.
Step 2: Shut Off Water Supply
When fixing a pinhole leak in the PEX pipe, turning off the water supply is crucial. Without this step, any repair work could result in further water damage and complications.
To locate the shut-off valve, you can follow these steps:
- Check Near Water Heaters or Main Line: Most homes have a main shut-off valve near the water heater or where the main water line enters the house.
- Inspect Bathrooms and Kitchens: Individual fixtures often have localized shut-off valves under sinks or behind toilets.
Once located, operate the shut-off valve by:
- Turning the Valve Handle Clockwise: This action will close the valve and stop the water flow.
- Using a Wrench if Necessary: For valves that are hard to turn, a wrench can provide additional leverage.
For further assistance on how to locate and turn off main water shut-off valves, you can refer to this comprehensive guide. Ensuring the water supply is off before starting repairs not only prevents accidental flooding but also allows for a safer and more controlled repair environment.
Step 3: Drain the Pipe
Draining the pipe is crucial before you start fixing a pinhole leak in PEX pipe. Water left in the system can complicate repairs and pose safety risks. Follow these steps to ensure the pipe is properly drained:
- Open Faucets Downstream: Start by opening faucets downstream from the leak. This helps release any remaining water and pressure from the PEX pipe. It also allows air to enter, facilitating drainage.
- Use a Bucket: Place a bucket or container under the section where you’ll be working. This will catch any residual water that may still be inside the pipe.
- Check for Complete Drainage: Ensure all water has been drained by lightly tapping the pipe and listening for hollow sounds. Any remaining water could interfere with the repair process.
Safety is paramount during this step. Always wear protective gloves and eyewear to safeguard against potential splashes or debris when draining PEX pipes.
Step 4: Cut Out the Damaged Section
To start fixing a pinhole leak in PEX pipe, you’ll need to remove the damaged portion. This involves cutting the pipe cleanly and accurately.
Using a copper cutter is highly recommended for this task due to its precision and ease of use. Simply position the cutter around the pipe at least an inch away from the damaged area on each side and rotate it until the pipe is cut through. The goal here is to ensure that only undamaged sections remain, providing a clean slate for your repair.
Key Points:
- Using a Copper Cutter: Position it around the PEX pipe an inch away from the leak. Rotate until fully cut.
- Leave Undamaged Pipe: Ensure you have at least an inch of undamaged pipe on either side of your cut to secure a solid repair.
By following these steps, you create a solid foundation for the next stages of repairing your PEX pipe.
Step 5: Prepare for Repair
Fixing a pinhole leak in PEX pipe requires careful preparation to ensure a successful repair. Begin by cleaning and smoothing the cut ends of the pipe. This step is crucial as any rough edges or debris can compromise the seal and lead to future leaks.
Choosing between a mechanical coupler or a Sharkbite fitting is the next decision. Each has its benefits:
- Mechanical Coupler: Offers a more traditional approach, requiring crimping tools but providing a robust connection.
- Sharkbite Fitting: Known for its ease of use, this push-to-connect fitting eliminates the need for special tools and works seamlessly with PEX pipes.
For your convenience, both options are widely available at hardware stores such as Home Depot.
Step 6: Install Coupling
When fixing a pinhole leak in PEX pipe, proper installation of the coupling is crucial. Choosing between a mechanical coupler and a Sharkbite fitting offers flexibility based on your preference and available tools.
Mechanical Coupler:
- Insert one end of the cut PEX pipe into the mechanical coupler.
- Ensure the pipe is fully seated within the fitting.
- Slide the other end of the cut pipe into the opposite side of the coupler.
Sharkbite Fitting:
- Take the prepared ends of the cut PEX pipe.
- Push one end firmly into the Sharkbite fitting until it seats securely.
- Repeat with the other end, ensuring both ends are fully inserted.
Both methods provide a reliable solution for how to fix a pinhole leak in PEX pipe, allowing you to restore your plumbing system efficiently. However, it’s essential to understand that each method has its pros and cons. For instance, the choice between push-connect Sharkbite style vs compression or sweat solder can significantly impact your plumbing repair experience and outcome.
Testing and Finalizing the Repair
After installing the coupling, you need to test for leaks after repair to ensure the fix is secure.
- Slowly turn on the water supply: Begin by gradually turning the water supply back on. This slow process helps to avoid any sudden pressure that could disrupt your newly installed coupling.
- Check for leaks: Observe the repaired section closely as the water begins to flow. Watch for any signs of moisture or dripping around the coupling. If you suspect a leak, consider utilizing some of these household leak detection methods for more thorough inspection.
- Monitor the repair site: Continue to monitor the site for a few minutes to ensure no leaks develop after the initial inspection. If you do find a leak, it’s important to address it immediately. You can refer to resources such as Portland’s Water Efficiency Programs or Austin’s Water Leak Department for guidance on how to handle this situation.
It’s crucial to address any issues immediately if leaks are detected, repeating previous steps if necessary.
Preventative Measures and Maintenance Tips
Preventing future leaks and ensuring the longevity of your PEX pipes requires proactive measures. Here are some essential tips:
Insulating Exposed Pipes
- Freezing: In colder climates, freezing can cause significant damage to PEX pipes. Use foam pipe insulation or heat tape to protect exposed sections.
- UV Exposure: PEX pipes degrade when exposed to direct sunlight. Shield them with UV-resistant covers.
Regular Inspections
- Conduct periodic checks for any signs of wear or potential leaks.
- Look for discoloration, moisture, or unusual sounds in the plumbing system.
Both insulating PEX pipes and regular inspections are key strategies in maintaining a robust plumbing system and preventing unforeseen issues.
Conclusion
Fixing pinhole leaks in PEX pipes is essential for keeping your plumbing system in good condition. With the right knowledge and tools, you can confidently handle DIY repairs. Regular maintenance, such as timely inspections and insulation of exposed pipes, prevents future issues and ensures long-term efficiency.
By following this guide on how to fix a pinhole leak in PEX pipe, you safeguard your home from potential water damage and mold growth. Remember, staying proactive with maintenance keeps your plumbing system in top shape and helps avoid costly repairs down the line.
FAQs (Frequently Asked Questions)
What is a pinhole leak in PEX pipes?
A pinhole leak in PEX pipes is a small, often hard-to-detect hole that allows water to escape. These leaks can be caused by manufacturing defects, kinks in the pipe, or improper installation. It’s essential to address these leaks promptly to prevent water damage and mold growth.
What tools and materials do I need to fix a pinhole leak in PEX pipe?
To fix a pinhole leak in PEX pipe, you will need essential tools such as a copper cutter, crimping tool, and decoupler. Recommended materials include mechanical couplers and Sharkbite fittings. Supplies can typically be purchased at home improvement stores like Home Depot.
How do I identify a pinhole leak in my PEX pipe?
You can identify a pinhole leak by performing a visual inspection of the area where you suspect the leak. Look for signs of moisture or discoloration on walls or ceilings, which may indicate water escaping from the pipe.
What steps should I follow to repair a pinhole leak in PEX pipe?
The steps to repair a pinhole leak include: 1) Identify the leak; 2) Shut off the water supply; 3) Drain the pipe; 4) Cut out the damaged section; 5) Prepare for repair by cleaning the cut ends; and 6) Install a coupling using either a mechanical coupler or Sharkbite fitting.
How can I test if my repair was successful?
After completing the repair, slowly turn on the water supply and check for any leaks at the repaired site. It’s crucial to monitor the area for some time afterward to ensure that no further leaks develop.
What preventative measures can I take to avoid future leaks in PEX pipes?
To prevent future leaks in PEX pipes, consider insulating exposed pipes to protect them from freezing or UV exposure. Regular inspections can also help catch potential problems early before they lead to significant issues.
Comments are closed