
Learning how to drain a water heater tank is an essential maintenance task to prevent sediment buildup, which can compromise the heater’s efficiency and potentially lead to damage. Regularly performing this task not only helps in maintaining the heater’s efficiency but also significantly extends its lifespan, making it a crucial aspect of water heater care.
Given the variety of factors that can dictate the need for draining, such as sediment buildup signs, water hardness, and manufacturer recommendations, draining your water heater tank at least once or twice a year is ideal [1][2][3][4]. This simple DIY task can help ensure the longevity and proper functioning of your water heater, ultimately leading to cleaner, clearer water and avoiding common issues like clogs and malfunctions [2][3][6].
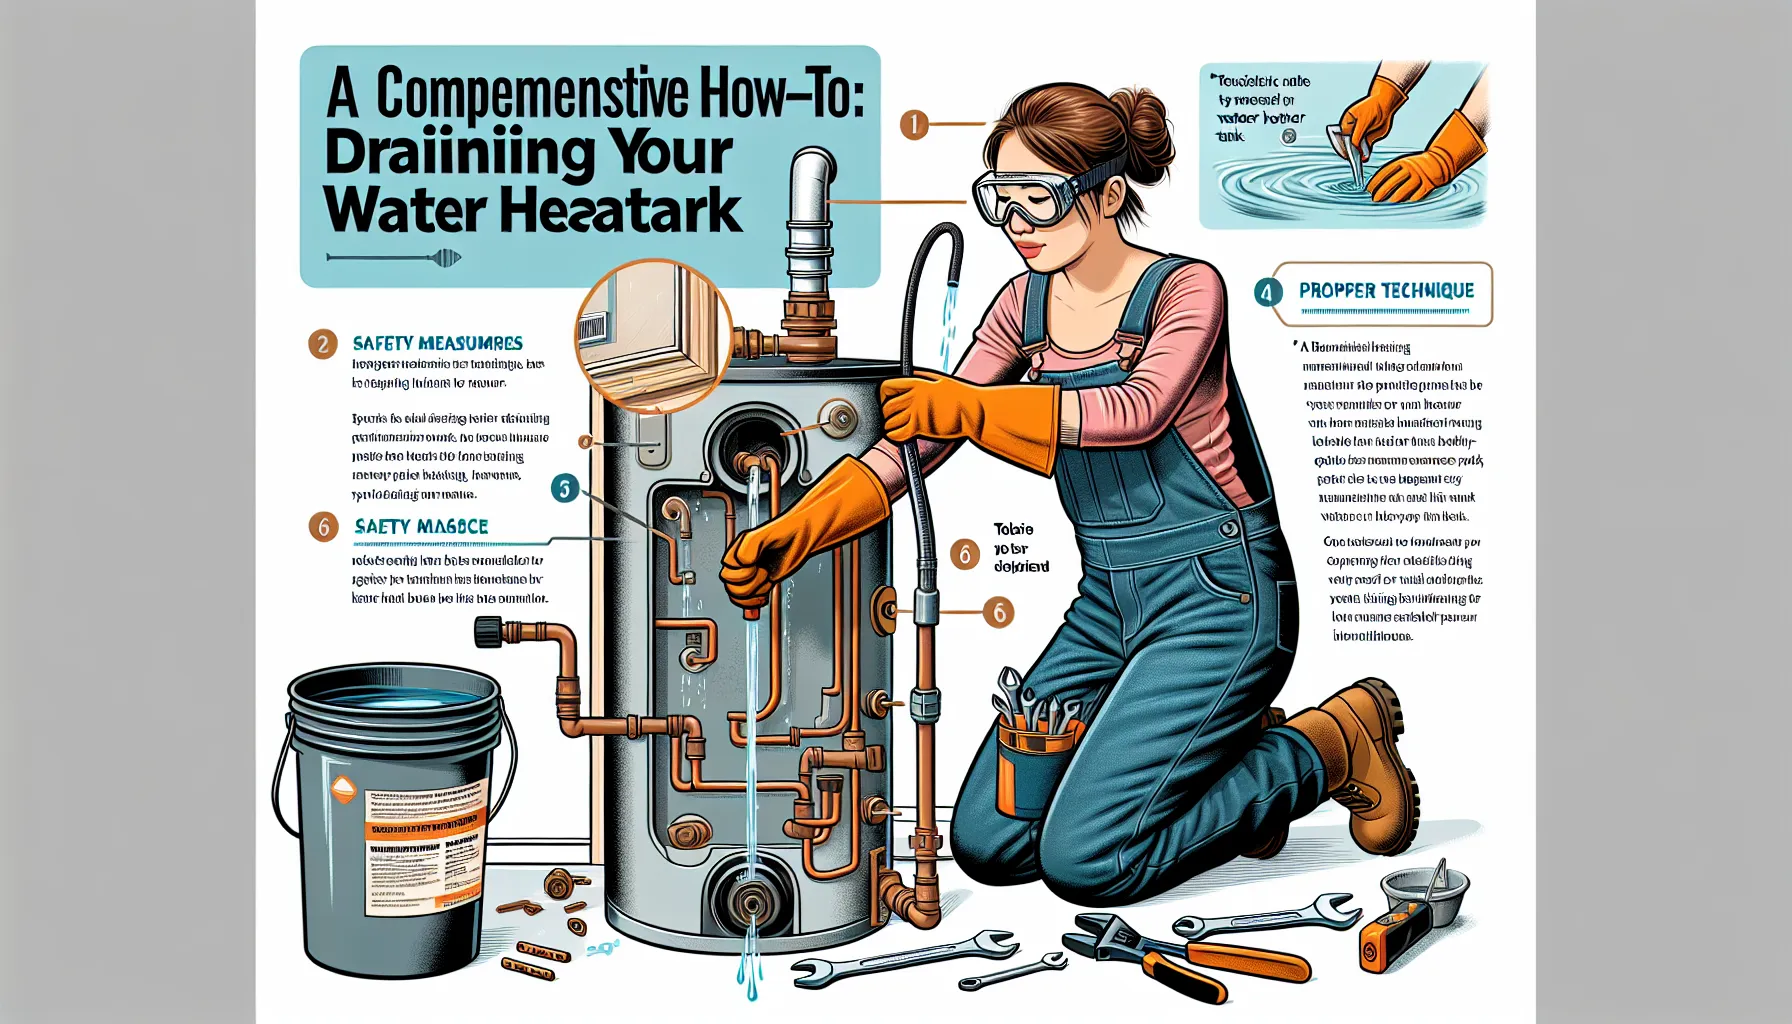
Preparing to Drain Your Water Heater
Before embarking on the task of draining your water heater tank, it’s crucial to prepare adequately to ensure a smooth and safe process. Follow these preparatory steps:
- Safety and Shutdown Procedures:
- Disconnect any recirculation pump attached to the water heater.
- For gas water heaters, set the thermostat to ‘pilot’ to prevent the flame from igniting. For electric heaters, turn off the power at your home’s electrical panel.
- Locate and shut off the water supply valve, typically found at the top of the water heater on the cold side.
- Drainage Preparation:
- Attach a garden hose to the drain valve located at the bottom of the water heater. Ensure the other end of the hose leads to a suitable drainage area, such as a 5-gallon bucket, to observe the discharged water.
- Open the drain valve using a screwdriver, allowing air to enter the system and facilitate draining.
- On the cold side, slightly loosen the top nut to introduce air into the system, speeding up the draining process.
- Cool Down and Power Off:
- Allow the water inside the tank to cool down for 1-2 hours to avoid any risks associated with handling hot water.
- Ensure the power supply to the water heater is turned off, whether it’s gas or electric, to guarantee safety during the draining process.
By adhering to these steps, you’re not only protecting yourself from potential harm but also setting the stage for an efficient draining process that can help maintain the optimal performance of your water heater.
Step-by-Step Guide to Draining the Water Heater Tank
After preparing your water heater for drainage, follow these steps to efficiently drain and clean the tank:
- Initiate Draining Process
- Step 4: Securely attach a garden hose to the drain valve located at the bottom of the water heater. Ensure the hose’s other end is directed towards a floor drain or an outdoor area.
- Step 5: Open a hot water tap nearest to the water heater to prevent vacuum formation and facilitate smoother draining.
- Step 6: Carefully open the drain valve, allowing the water to flow out. Initially, the water might appear murky due to sediment.
- Flush the Tank
- Step 7: With the drain valve still open, turn on the cold water supply to the tank. This action will stir up and flush out any remaining sediment from the tank. Observe the water flowing through the hose; repeat this flushing process until the water runs clear.
- A quick flush might be beneficial here: briefly connect a garden hose to the drain valve and open the valve for a few seconds to flush out any lingering sediment.
- Refill and Restart
- Step 8: After ensuring the water runs clear, close the drain valve and disconnect the hose. Refill the tank by turning on the cold water supply. Watch for leaks during this process.
- Once the tank is full, reopen a hot water tap to release any trapped air in the system. Finally, turn the power or gas supply back on, setting the control knob from ‘pilot’ to ‘on’ for gas heaters. Allow the water heater to cycle for 5-7 minutes before using hot water, ensuring any loose sediment is removed.
Following these steps will help maintain the efficiency and longevity of your water heater by removing harmful sediment buildup.
Troubleshooting Common Issues
When encountering issues after draining your water heater, it’s essential to troubleshoot effectively. Here are common problems and their solutions:
- No Sediment Discharge:
- If after draining, no sediment comes out, it might indicate infrequent use or sediment dissolution. Regular flushing is advised to prevent this.
- Slow Water Discharge:
- Clogged Drain Valve: Sediment can block the valve. Using a 3/4 valve with a larger hole can prevent future clogs.
- If the issue persists, consulting a professional plumber is recommended to check for deeper problems.
- Post-Drainage Heater Troubles:
- Electrical Issues: Ensure the circuit breaker hasn’t tripped. If not, reset the high-temperature limit.
- Water Temperature and Usage: Setting the thermostat to 120F° and installing low-flow showerheads can reduce stress on the system. Spread out water usage throughout the day.
- Maintenance Tips:
- Tighten any loose inlet or outlet pipes.
- Replace the anode rod and pressure relief valve as needed.
- Regularly flush the tank to remove sediment and reduce limescale buildup, considering a water softener for hard water areas.
Addressing these issues promptly can extend your water heater’s lifespan and maintain its efficiency.
Conclusion and Aftercare
Aftercare is a crucial step in ensuring the continued efficiency and longevity of your water heater following a thorough draining and flushing process. Here are essential practices to adopt:
- Regular Maintenance Checks:
- Inspect the anode rod annually for corrosion and replace it if necessary.
- Check the pressure relief valve every six months to ensure it’s functioning properly.
- Monitor for any leaks or signs of wear around the water heater.
- Scheduled Draining and Flushing:
- Based on water hardness and manufacturer recommendations, plan for annual or bi-annual flushing to prevent sediment buildup.
- Note the water clarity during draining; a quick flush may be needed if water appears murky.
- Energy Efficiency Practices:
- Set the thermostat to an optimal temperature of 120°F to balance efficiency and comfort.
- Consider insulating older units to improve heat retention and reduce energy consumption.
- Spread out hot water usage to lessen the heater’s workload, enhancing its performance and extending its service life.
Adhering to these aftercare practices not only contributes to a more efficient water heating system but also helps in avoiding the inconvenience of unexpected repairs and replacements, ensuring a steady supply of hot water in your home.
Conclusion
Through this guide, we have journeyed together from understanding the importance of draining your water heater tank to meticulously executing the task. The process, aimed at preventing sediment buildup and ensuring the efficient operation of your water heater, is essential for every homeowner to master. With careful adherence to the preparatory steps and the step-by-step guide provided, you are now equipped to maintain your water heater’s optimal performance and extend its lifespan.
In embracing the aftercare practices outlined, such as regular maintenance checks and scheduled draining, you are ensuring the longevity and efficiency of your water heater. This commitment not only safeguards your home’s hot water supply but also contributes to energy conservation and cost savings. Remember, regular attention and care for your water heater are key to enjoying the continued comfort and convenience of your home’s hot water system.
FAQs
What are the steps to properly drain a water heater?
To drain a water heater, follow these steps: First, turn off the water supply to the heater by closing the cold water supply valve at the top of the water heater. Next, find the drain valve at the bottom of the tank and attach a standard garden hose to it. Then, open a hot water tap somewhere in the house to allow air into the system. Finally, open the drain valve to allow the water to flow out through the hose.
How much time is required to drain a water heater with a 50-gallon capacity?
Draining a 50-gallon water heater typically takes between 45 to 60 minutes, although this is an estimate and the actual time may vary depending on various factors.
What is the average duration for draining a 40-gallon water heater?
The average time to drain a 40-gallon water heater is about 30 to 45 minutes.
Is it necessary to open the pressure relief valve when draining a water heater?
While draining the water heater, it is not necessary to open the pressure relief valve. However, it is crucial to ensure that the pressure relief valve is closed after you finish draining the water heater. If left open, water will escape through the valve and the discharge pipe once the tank refills.
Comments are closed