
Draining a water heater Regular water heater maintenance is essential for maintaining its efficiency and extending its lifespan, a crucial step highlighted in home improvement guides. Performing this maintenance is not only pivotal for energy efficiency but also to prevent issues like cracking and popping noises, which are telltale signs of sediment buildup affecting your water source.
Understanding the components of your water heater and adhering to expert plumbing tips on how to drain a water heater, including specific methods for both traditional and tankless models, is vital for safe upkeep and ensuring the system’s longevity. The process of draining and flushing, as outlined in guides on how to drain and flush a water heater, is key to removing sediment build-up and ensuring your heater operates efficiently.
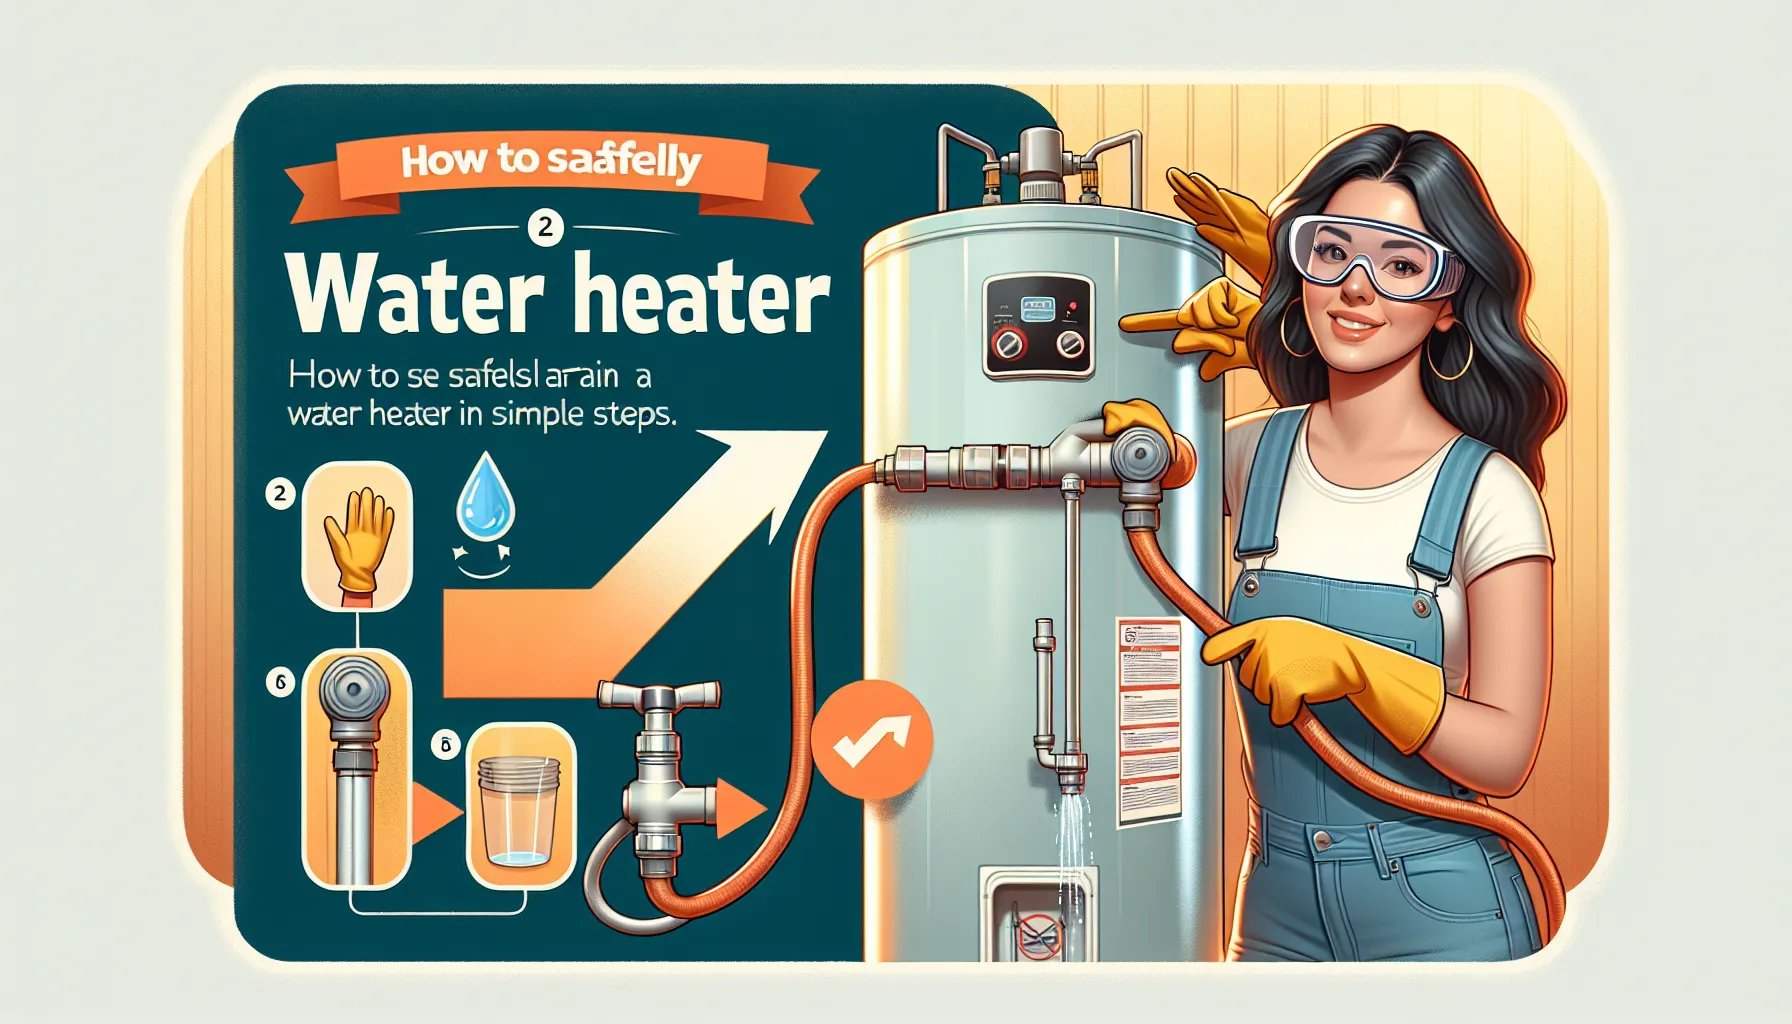
Preparation and Safety Precautions
Before embarking on the process of draining your water heater, it’s crucial to prioritize safety and efficiency by following these preparatory steps:
- Turn Off the Power and Water Supply:
- For electric water heaters, shut off the power from your home’s electrical panel.
- For gas water heaters, it’s important to turn the thermostat to ‘pilot’ or shut off the gas supply to ensure safety. This is a key step in learning how to drain a gas water heater without risking any mishaps.
- Close the cold-water inlet to stop water from entering the tank during the draining process.
- Preparation for Draining:
- Securely attach a garden hose to the drain valve, ensuring a tight connection that is firm yet not overly tightened, to facilitate an effective water heater drain.
- If your system includes one, switch off the recirculation pump and set the water heater to pilot mode to prevent the flame from igniting, which is a critical step in the process of how to drain a gas water heater.
- Allow the water in the tank to cool for a period ranging from 30 to 120 minutes to mitigate the risk of encountering scalding hot water during the draining process.
- Safety Measures:
- Regularly test the temperature or pressure relief valve to ensure it’s functioning correctly, preventing overpressure.
- Insulating the initial segment of both hot and cold water pipes is key to preserving their temperature and enhancing overall efficiency.
- Clear the area around the heater of any flammable materials and ensure proper ventilation.
- To ensure both safety and optimal performance, consider enlisting a licensed plumber to supervise or manage the insulation process.
Connecting the Drainage Setup
With preparation and safety measures established, the subsequent phase is to set up the drainage system to proficiently drain the water heater.
- Connecting the Hose:
- Securely connect a garden hose to the drain valve at the base of the water heater for an effective water heater drain. Alternatively, a washing machine fill hose is also suitable for this purpose.
- Position the hose’s opposite end into a 5-gallon bucket to catch the water or aim it towards a basement floor drain or outdoors, adhering to municipal water guidelines and local regulations.
- Initiating the Drainage:
- Open the drain valve to start the draining process.
- To aid in draining the water heater and avert vacuum formation, slightly loosen a nut on the cold water side at the top of the water heater to let air into the system.
- Activate a hot water faucet in another part of the residence to introduce air into the system, thus facilitating water heater draining and ensuring a more consistent flow.
It’s crucial to remember to close the drain valve after the water heater tank is fully drained, and before you begin to refill the heater, to prevent any water from escaping during the refilling process. This careful procedure not only promotes efficient drainage but also aids in the upkeep and longevity of the water heater. Such steps are often highlighted in home improvement guides and plumbing tips that focus on how to drain a water heater tank to boost energy efficiency.
Draining the Tank and Flushing Sediment
With the setup in place for draining the water heater, the critical task of draining a water heater begins. This step is essential for preserving the system’s efficiency and extending its service life by flushing sediment. The process of how to flush a water heater starts now, which is vital for sustaining the system’s performance and durability. To ensure the system is thoroughly cleaned, follow these steps:
- Drain the Tank:
- To drain a water heater, open the drain valve and allow the water to discharge. Depending on the amount of sediment, it might take some time for the tank to empty.
- Monitor the water as it is expelled from the heater; you may notice it appears cloudy at first due to the presence of sediment while emptying the water heater.
- Flush the Sediment:
- Once the tank is devoid of water, seal the drain valve temporarily and open the cold water supply to refill the tank. This step is instrumental in dislodging any lingering sediment and is a key part of learning how to drain a hot water tank.
- Reopen the drain valve to release water, repeating this flush cycle between 5 to 10 times, or until the water runs clear. This is a clear sign that most of the sediment has been removed, which is a crucial aspect of how to drain a hot water tank effectively.
- Final Steps:
- Once the tank is free from sediment, proceed to shut the drain valve and detach the hose, completing the drain hot water tank process.
- Refill the water heater tank by opening the cold water valve, and simultaneously open a hot water faucet inside your home to release any trapped air, preventing potential vacuum or pressure complications.
- Keep an eye on the water streaming from the faucet until it runs smoothly without spurts of air, signifying that the tank is filled and devoid of air.
Final Steps and Reactivating the Water Heater
To ensure your water heater operates optimally, it’s essential to adhere to these steps for effective water heater maintenance after flushing out sediment.
- Reconnecting and Refilling:
- Securely close the drain valve and disconnect the hose.
- Activate the cold water supply to your electric water heater, listening for the sound of water to confirm the tank is refilling.
- Flush out the air from your plumbing by opening hot water taps around your home for several minutes, ensuring a thorough purge of airlines.
- Power and Temperature Settings:
- Before powering up electric water heaters, make sure to replace all panels and verify that the power is off prior to reconnecting the heating elements, using a non-contact voltage tester to ensure safety.
- When dealing with gas water heaters, it’s crucial to check the inlet and outlet venting for any blockages. If needed, relight the pilot light or restore power, which is a fundamental step in learning how to drain a gas water heater.
- Set the thermostat to a safe and energy-efficient temperature, typically around 120 degrees Fahrenheit.
- Maintenance Checks:
- Inspect the water heater, connections, and joints for signs of corrosion or leaks.
- Regularly test the temperature pressure relief valve to ensure it’s functioning correctly.
- To safeguard your water heater against the damaging effects of corrosive minerals, consider replacing the anode rod every 5 years. Regular water heater maintenance, such as draining the tank to manage mineral content, is also essential.
Adhering to water heater maintenance steps not only ensures the longevity and efficiency of your water heater but also contributes to significant energy savings and the prevention of future issues.
Conclusion
By adopting a systematic approach to water heater maintenance, including draining and sediment removal, homeowners can significantly enhance the efficiency and lifespan of their water heating systems. This methodical maintenance routine not only maintains the water heater’s functionality but also promotes energy efficiency and a reliable hot water supply.
The final steps of reactivating your water heater, which include refilling the tank and adjusting power and temperature settings, are essential to ensure it operates optimally, with a reduced risk of corrosion or leaks. Regular implementation of these water heater maintenance checks can prevent common issues and prolong the service life of your water heater, underscoring the importance of routine care in home improvement practices.
FAQs For Drain a Water Heater
What are the correct steps to drain a water heater?
To properly drain a water heater, follow these steps:
- Shut off the cold water supply valve at the top of the water heater.
- To initiate the water heater drain process, connect a standard garden hose to the drain valve situated near the bottom of the tank.
- Open a hot water tap in your home to allow air into the system.
- Open the drain valve to let the water flow out.
How can I flush my water heater?
To flush your water heater, you should:
- Turn off the cold water valve to stop the water supply.
- Switch off the power to the water heater.
- Attach a garden hose to the drain valve at the bottom of the heater.
- Ensure proper flow during water heater draining by opening a hot water tap located above the level of the water heater.
- Open the drain valve to start the flushing process.
Is it necessary to turn off the gas before draining a water heater?
Indeed, when learning how to drain a gas water heater, it’s essential to first turn off the gas and extinguish the pilot light to ensure safety. Make sure you have a bucket or a floor drain in place to catch the water as it drains from the tank.
Do I need to close the pressure relief valve after draining the water heater?
Certainly. Once you’ve completed the task of draining the water heater, it’s imperative to seal the pressure relief valve. Neglecting this step can lead to water leakage through the valve and discharge pipe as the tank is replenished.
Comments are closed