
Flushing a water heater is a crucial maintenance task that ensures it operates efficiently by removing sediment buildup, which results from dissolved minerals and impurities hardening at the tank’s bottom. Regular maintenance, such as annual flushing, not only extends the water heater’s lifespan by up to four years but also enhances its heat water speed, lowers energy bills, and maintains warranty protection.
Given the significance of removing sediment to prevent issues like poor efficiency, water discoloration, and potentially damaging corrosion, the process of how to flush a water heater should be carried out annually. This not only keeps the water heater in optimum condition but also addresses the water heating system’s needs by avoiding problems and ensuring a cleaner water supply.
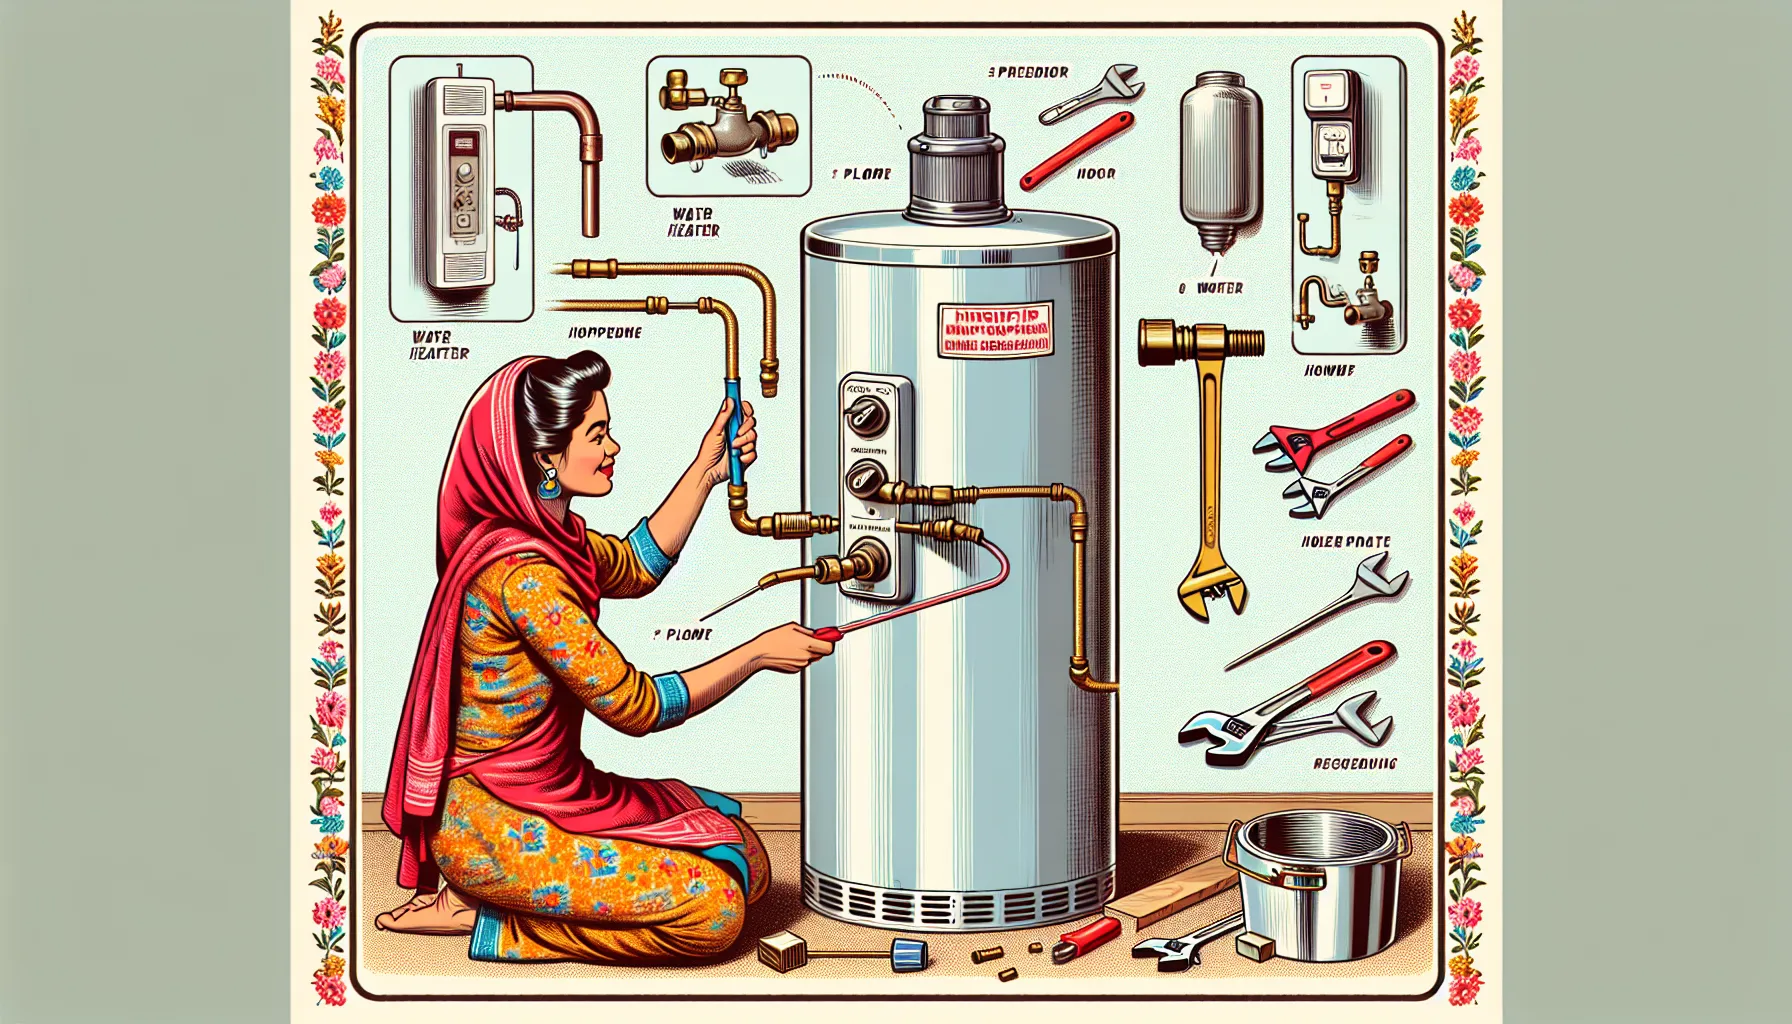
Preparation Steps Before Flushing Water Heater
Before embarking on flushing your water heater, it’s essential to prepare adequately to ensure a smooth and safe process. Follow these preparatory steps:
- Shut Off the Heat Source:
- For electric water heaters: Turn off the circuit breaker.
- For gas water heaters: Turn off the gas supply and set the thermostat to pilot or vacation mode.
- Water Supply Adjustments:
- Locate and turn off the cold water supply valve to halt water flow into the heater.
- Open a hot water faucet in a tub or sink to release pressure and allow air into the system, facilitating drainage.
- Drainage Setup:
- Identify the drain valve, typically found at the bottom of the water heater.
- Securely connect a garden hose to the drain spigot. Ensure the other end of the hose is directed towards a safe drainage area, such as a floor drain, utility sink, or outdoors.
- This setup is crucial for safely disposing of the water that contains sediment.
By diligently following these steps, you’re not only ensuring your safety but also setting the stage for an efficient flushing process, which is pivotal in enhancing the performance and longevity of your water heater.
Step-by-Step Guide to Flushing a Water Heater
After completing the preparation steps, it’s time to proceed with the actual flushing of your water heater. Follow these instructions carefully:
- Turning Off and Draining:
- Turn off the power: For electric heaters, switch off the power at the circuit breaker. For gas models, turn the gas valve to the pilot position or the lowest temperature setting.
- Connect a hose: Attach a garden hose to the drain valve, directing it towards a drain or outside.
- Open the drain valve: Allow the water to flow out. Concurrently, open a hot water tap on the floor above to prevent vacuum formation.
- Flushing the Tank:
- Cold water flush: After draining, open the cold water supply valve at the top of the tank for about 20 seconds to stir up sediment. Close the valve and let the water drain. Repeat this process several times until the water runs clear.
- Check for leaks: Ensure the drain valve isn’t leaking. If it leaks, attempt to clear any trapped sediment by opening and closing the valve a few times.
- Refilling and Powering Up:
- Close the drain valve: Ensure it’s securely closed to prevent leaks.
- Refill the tank: Turn on the cold water valve to refill the tank. Monitor the open hot water tap and wait for it to run normally, indicating the tank is full.
- Power on: For electric heaters, restore power at the circuit breaker. For gas heaters, ensure the tank is full before reigniting the pilot light or turning the gas back on.
Remember, regular flushing helps combat issues like foul-smelling water caused by bacteria and prevents sediment from overheating the tank bottom.
Troubleshooting Common Issues
Despite meticulous flushing, one might encounter issues with their water heater. Addressing these effectively ensures a continuous supply of hot water and extends the unit’s lifespan. Below are solutions to common problems:
- Water Heater Not Heating:
- Electric units: Check the breaker. If not tripped, inspect the heating element for repairs or replacement.
- Gas units: Ensure the pilot light is on. No frozen lines should be present. If unresolved, seek professional help.
- Leaking Water Heater:
- Causes include pressure valve failure, sediment buildup, or loose connections. Solutions range from replacing parts to installing new components.
- Water Temperature and Quality Issues:
- Temperature: Adjust the thermostat for too hot or cold water. If ineffective, inspect the thermostat or heating element.
- Discoloration or Odor: Drain the tank to remove sediment. For rust-colored water or bad odor, replacing the anode rod might be necessary.
- Noises: Sediment buildup could be the culprit. Turn off the unit, inspect the heating element, and drain the tank.
- Low Hot Water Pressure: Check for corroded plumbing or sediment buildup. Draining the tank and inspecting pipes for damage or corrosion can help.
For persistent issues or if unsure, consulting a professional is advisable to avoid further damage.
Conclusion
Through the comprehensive guide provided, homeowners can confidently undertake the task of flushing their water heaters, an essential maintenance activity that ensures efficiency, longevity, and optimal performance of the heating unit. The carefully outlined steps, from preparation through to flushing and troubleshooting common issues, are designed to empower individuals with the knowledge to prevent common problems such as sediment buildup, corrosion, and inefficiency that can affect water quality and heating costs. This regular maintenance can significantly extend the life of water heaters, decrease energy bills, and ensure a consistent supply of clean, hot water.
The importance of routine water heater maintenance cannot be overstated, as it plays a crucial role in safeguarding the functionality and efficiency of one’s home water heating system. By following the step-by-step guide and addressing any subsequent issues that may arise, homeowners not only protect their investment but also contribute to the overall efficiency and safety of their household water systems. As we have seen, taking proactive measures in maintaining water heaters can lead to substantial benefits, reinforcing the significance of annual flushing as part of a comprehensive home maintenance routine.
FAQs
What are the steps to flush a water heater?
To flush a water heater, follow these steps:
- Turn off the water heater.
- Shut off the cold water supply.
- Allow the water to cool.
- Find the drain valve and attach a garden hose to it.
- Open a hot water faucet in your home.
- Open the drain valve and let the tank drain.
- Flush the tank with water until it runs clear.
Is it possible to flush a water heater on my own?
Yes, you can flush a water heater by yourself. Start by turning on the cold water spout and let it run for a few minutes, monitoring the water coming out of the hose until it runs clear. This indicates that the flushing process is complete.
Do I need to turn off the water heater before flushing it?
Yes, you must turn off the water heater before flushing it. If you have a gas water heater, turn off the gas supply; if it’s electric, turn off the electricity. Also, open a hot water faucet nearby to prevent a vacuum from forming, making it easier for the tank to drain.
How can I remove sediment from my water heater?
To remove sediment from your water heater, follow these steps:
- Turn off the power to the water heater.
- Turn on a hot water faucet elsewhere in your home.
- Close the cold-water valve to the water heater.
- Connect a hose to the water heater’s drain valve.
- Start draining the water heater’s tank.
- Flush the system to clear out sediment.
Comments are closed